Get key takeaways:
This is Step 3 in our tutorial for setting up Google Analytics 4. The directions below assume you’ve already created a GA4 property, and that your Google Universal Analytics (UA) property tag is being added to your site via code in your theme settings or a code snippet plugin. (Go here if you’re not sure how your existing UA tag is being added to your site.)
You’ll also want to have your GA4 Measurement ID handy. Below you’ll see how to change the code snippet, along with examples showing some the most common plugins.
Google Analytics code can be added to your site in a variety of ways. If your existing Universal Analytics (UA) tag code has been added with a “code snippet” in your theme settings or in a snippet plugin like Code Snippets or WPCode, it’s best to add Google Analytics 4 (GA4) to the existing code. This tutorial will walk you through how to do that.
Table of Contents
Video Walkthrough
How to Edit an Existing Code Snippet to Add Your GA4 Measurement ID
- The existing code should look something like this:
<!-- Google tag (gtag.js) -->
<script async src="https://www.googletagmanager.com/gtag/js?id=UA-#########-1"></script>
<script>
  window.dataLayer = window.dataLayer || [];
  function gtag(){dataLayer.push(arguments);}
  gtag('js', new Date());

  gtag('config', 'UA-#########-1');
</script>- You’ll want to replace (or edit) the existing GA script on your site with the following code, making sure to insert your own UA and GA4 IDs:
<!-- Global site tag (gtag.js) - Google Analytics -->
<script async src="https://www.googletagmanager.com/gtag/js?id=G-##########"></script>
<script>
  window.dataLayer = window.dataLayer || [];
  function gtag(){dataLayer.push(arguments);}
  gtag('js', new Date());

  gtag('config', 'UA-#########-1');
  gtag('config', 'G-##########');
</script>The highlighted differences between the two pieces of code include:
- Changing out the first UA tag in the code for the GA4 (G-) tag.
- Adding a new line to the code for the GA4 tag.
If your code snippet contains surrounding code other than what is shown above, please be very careful and do not disturb that code. Only replace or edit the code shown above.
- Once you’ve replaced or edited your existing script, save your changes in the Customizer or plugin settings. We’ve included some specific examples of what the code might look like in different themes and plugins below.
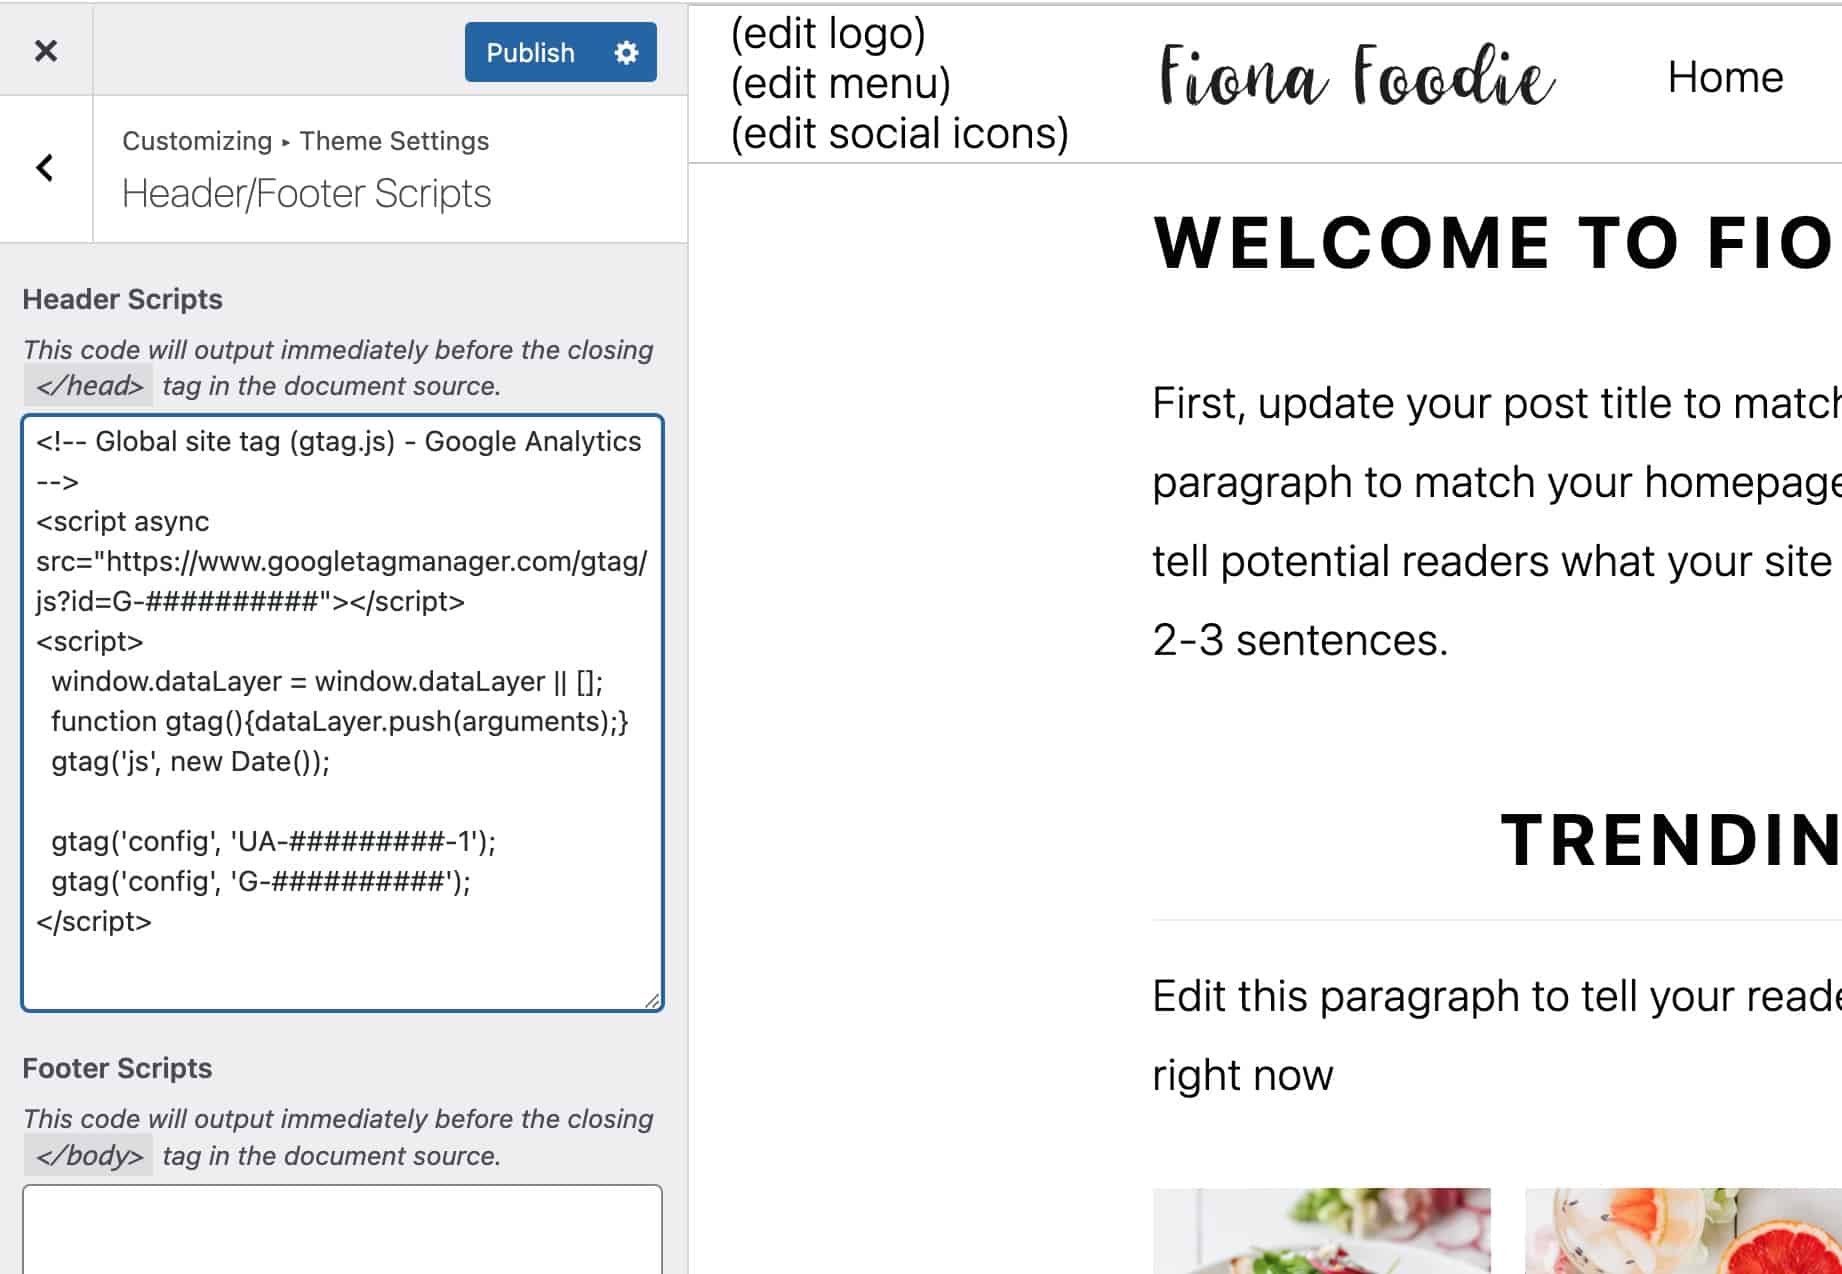
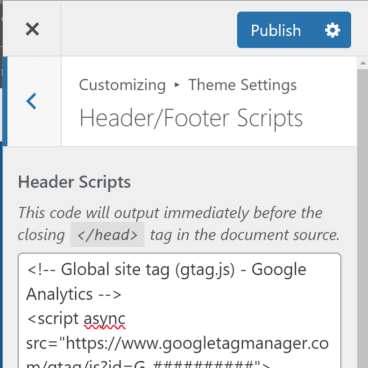
Possible Snippet Location: Genesis Child Theme Settings
Located under Appearance > Customize > Theme Settings > Header/Footer Scripts.
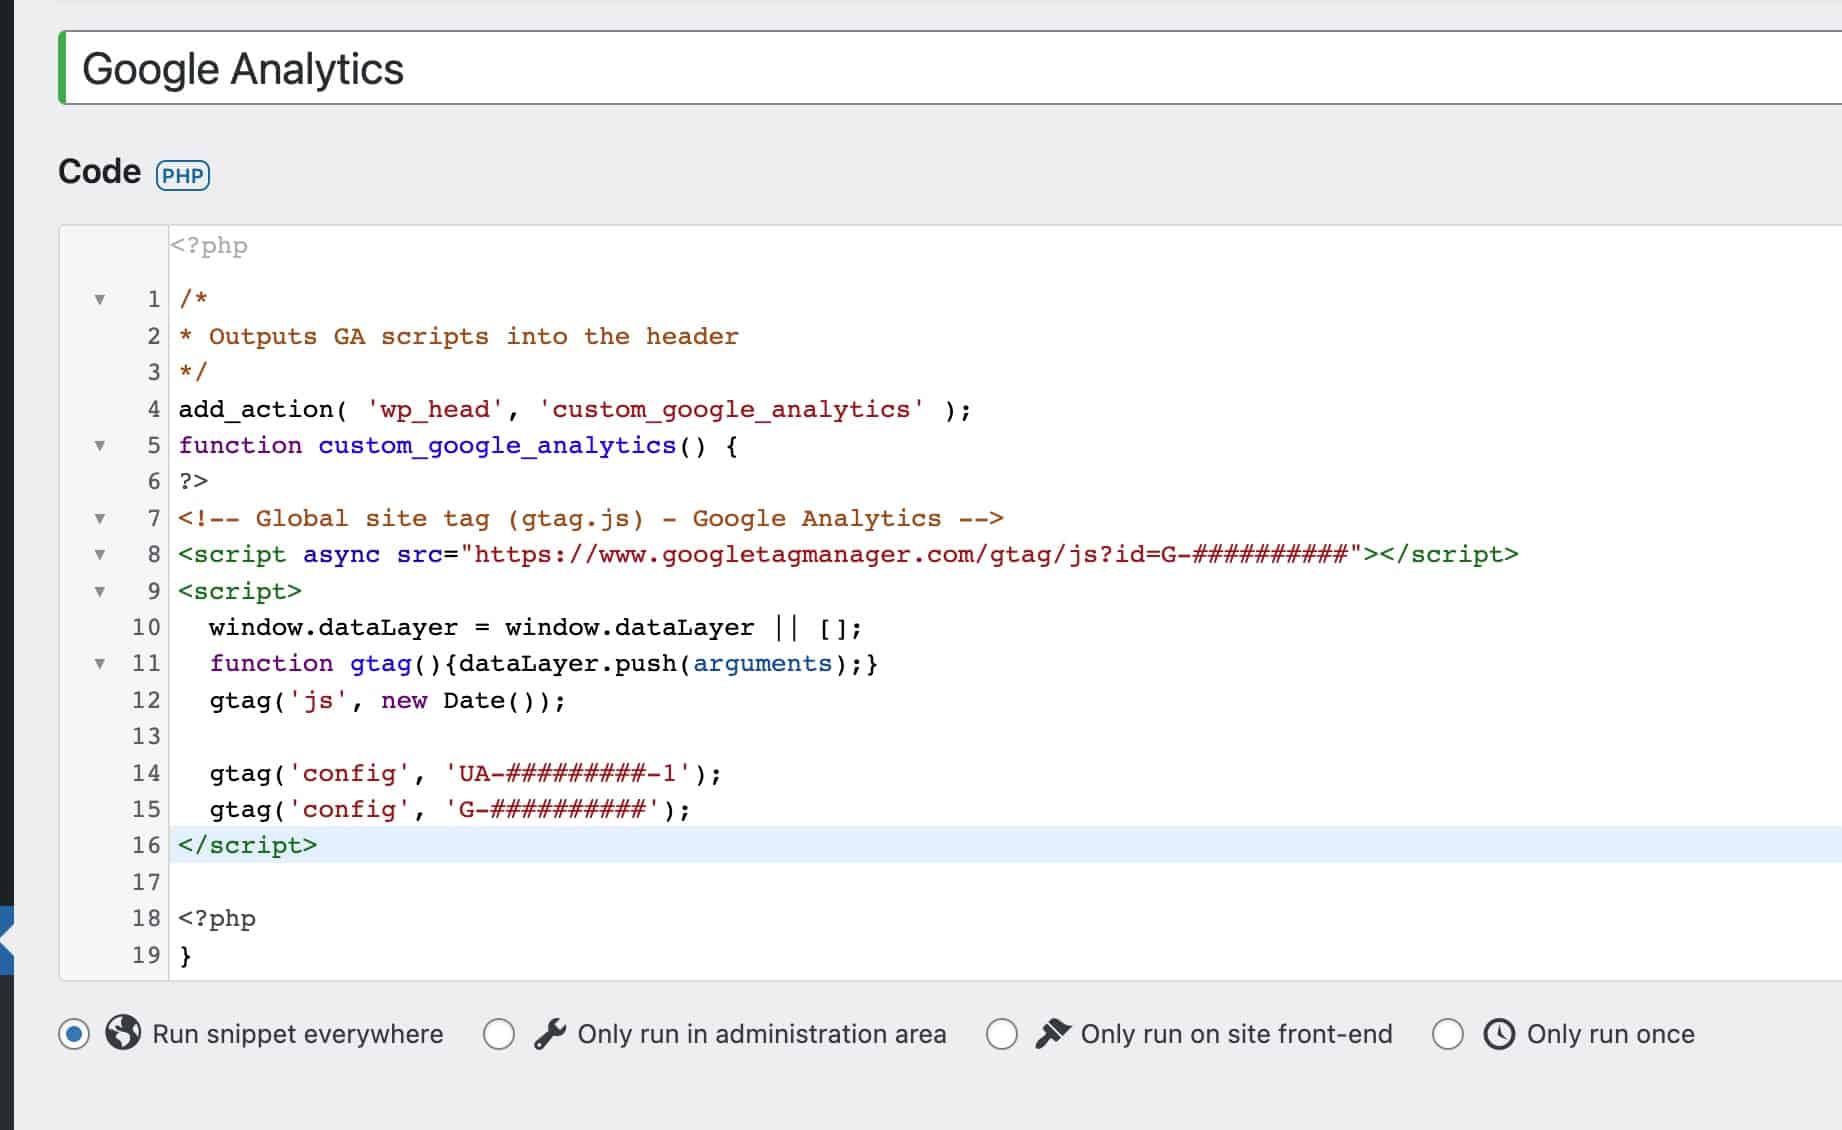
Possible Snippet Location: Code Snippets Plugin
Found under Snippets > All Snippets in the WordPress Dashboard.
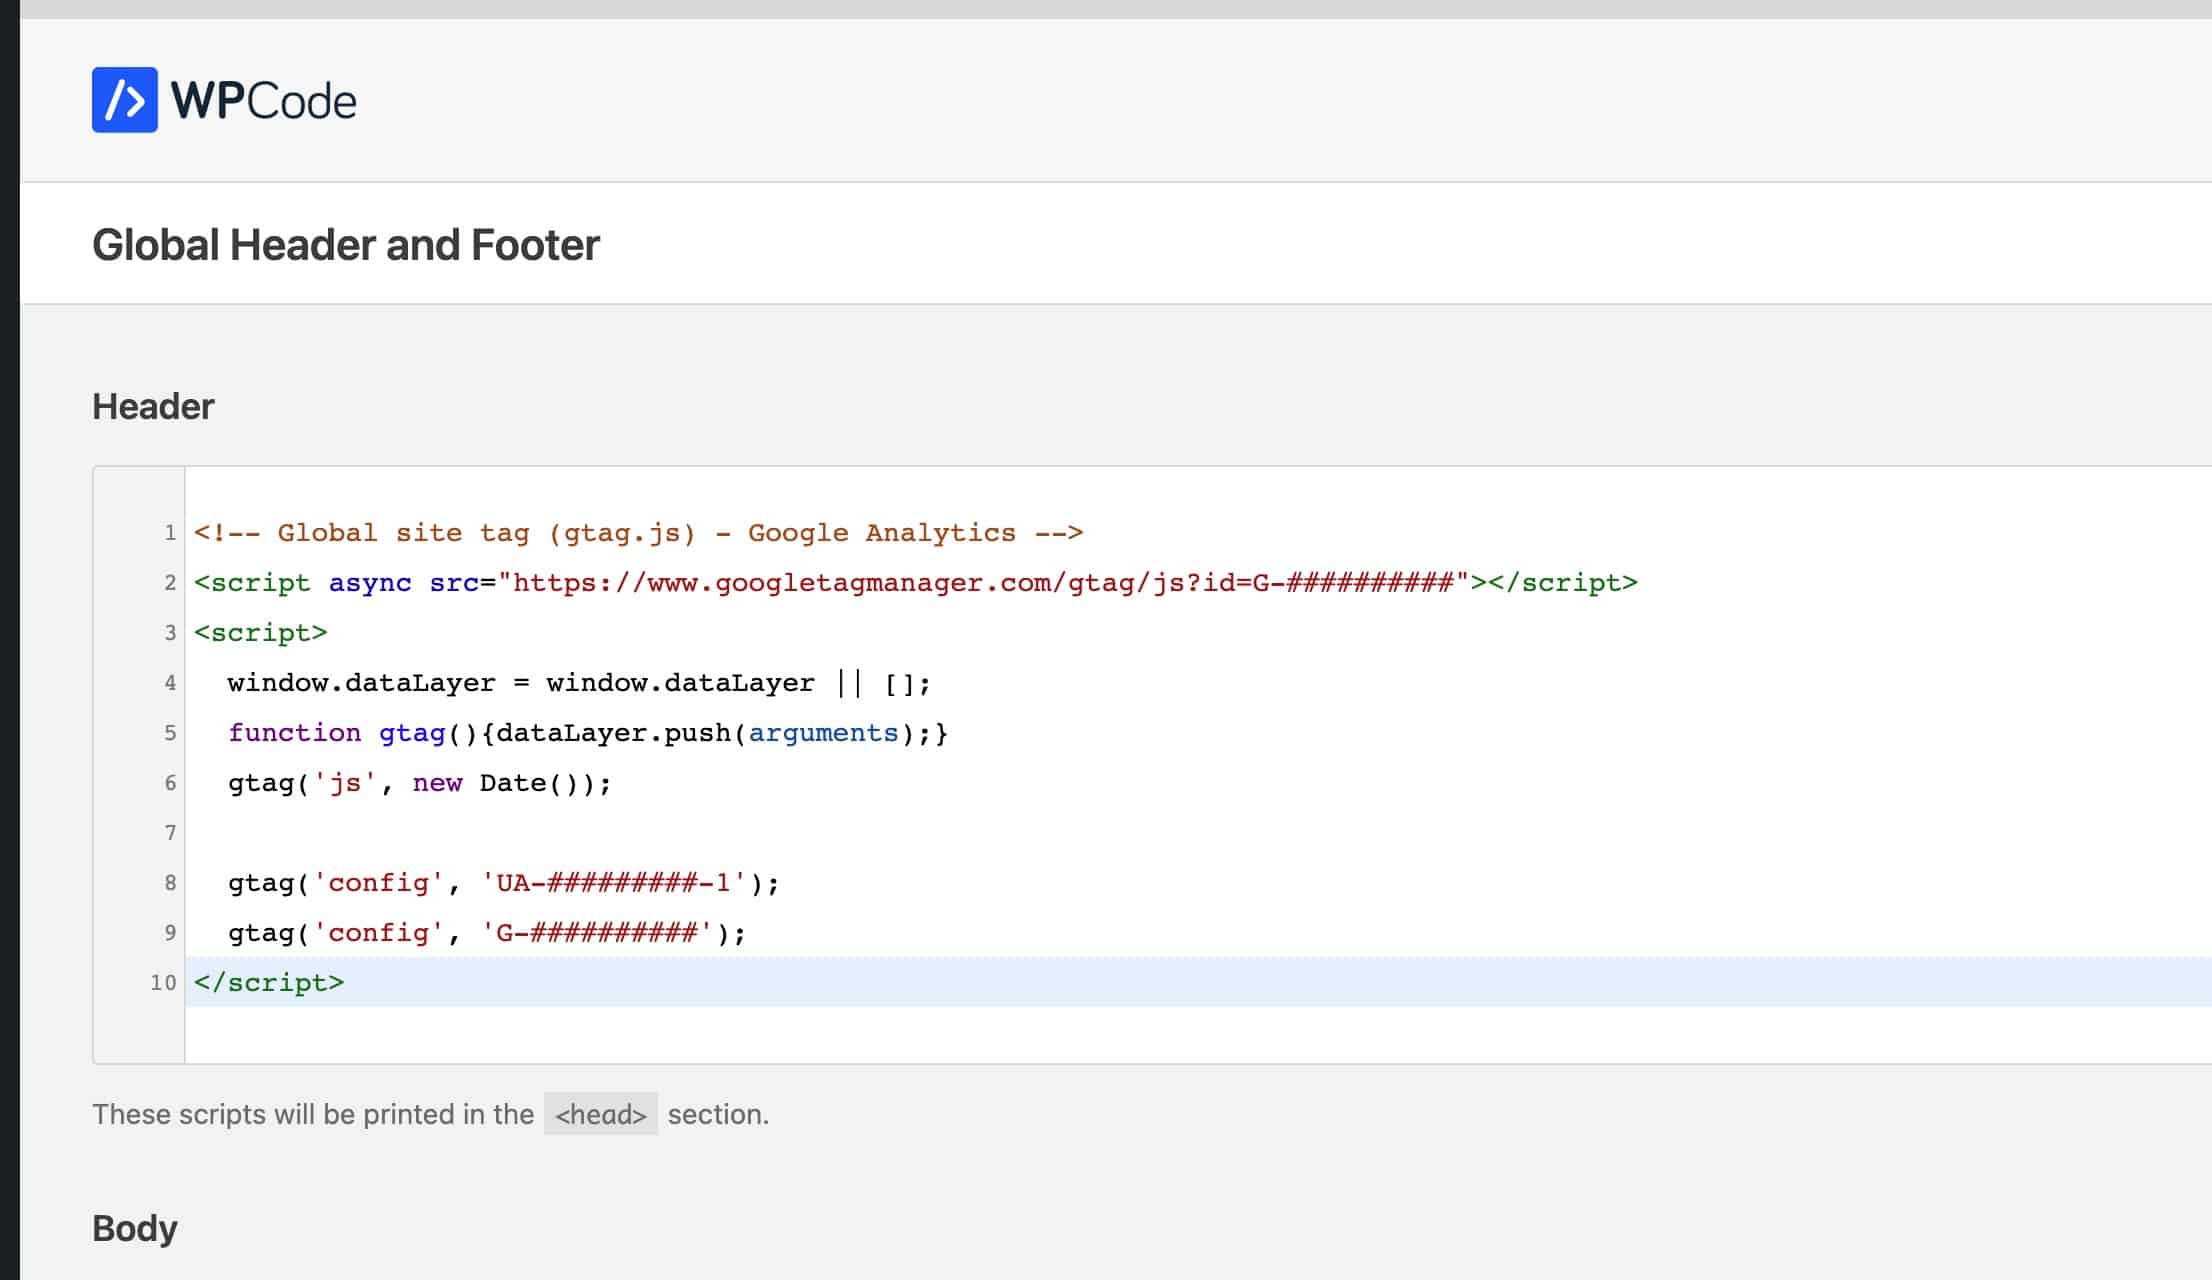
Possible Snippet Location: WPCode Plugin
Header/footer snippets for this plugin are found under Code Snippets >> Header & Footer in the WordPress dashboard.
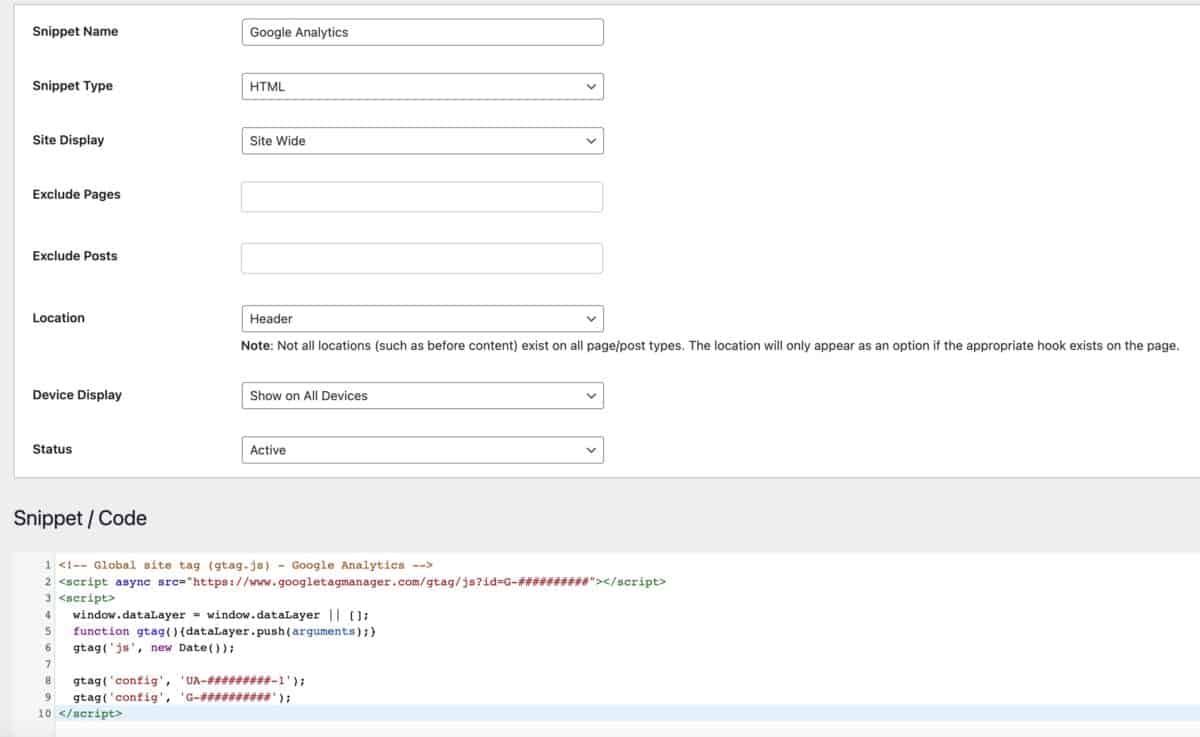
Possible Snippet Location: Header Footer Code Manager Plugin
Snippets for this plugin are found under HFCM >> All Snippets.
If you’re a NerdPress client and can’t find where the code snippet is configured — and you’re not using Google Site Kit or MonsterInsights to add your existing analytics tag — email us and we’ll be happy to help you track it down. 👍This is just one of many ways we help our NerdPress clients.
To check that your Google Analytics tags are set up correctly, we recommend using the Google Tag Assistant website.
👉 Once you’re sure they’re added correctly, proceed to Step 4: Opt out of the automatic GA4 deployment.


Should I be concerned if my snippet doesn’t contain the bottom portion (and therefore only contains the ID once)?
The snippet should contain both <script> sections, yes. You can use Google Tag Assistant to make sure it’s tracking correctly… and if not, definitely update the tag to look like the examples above.